Overview
The Announcement feature allows administrators to publish important information directly to properties through Channel Manager. Announcements can be displayed on the dashboard, shown as pop-up notifications, or distributed via email.
Common use cases include maintenance notifications, service updates, system enhancements, and operational announcements.
How to Publish an Announcement
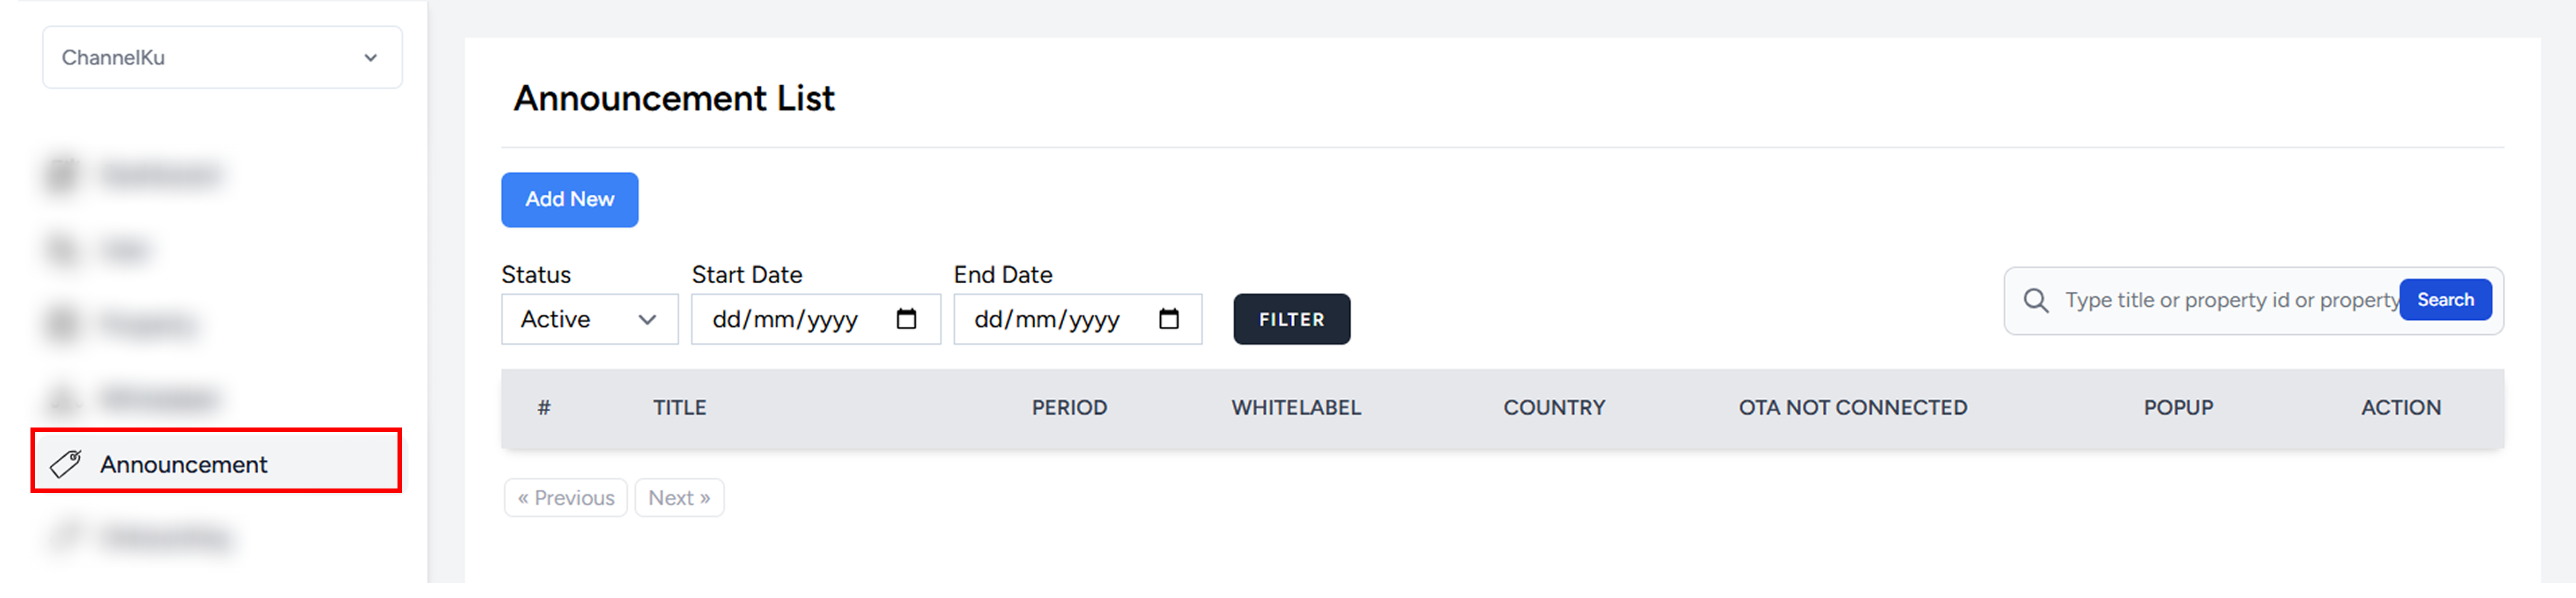
- Open Channelku Portal and navigate to Announcement menu.
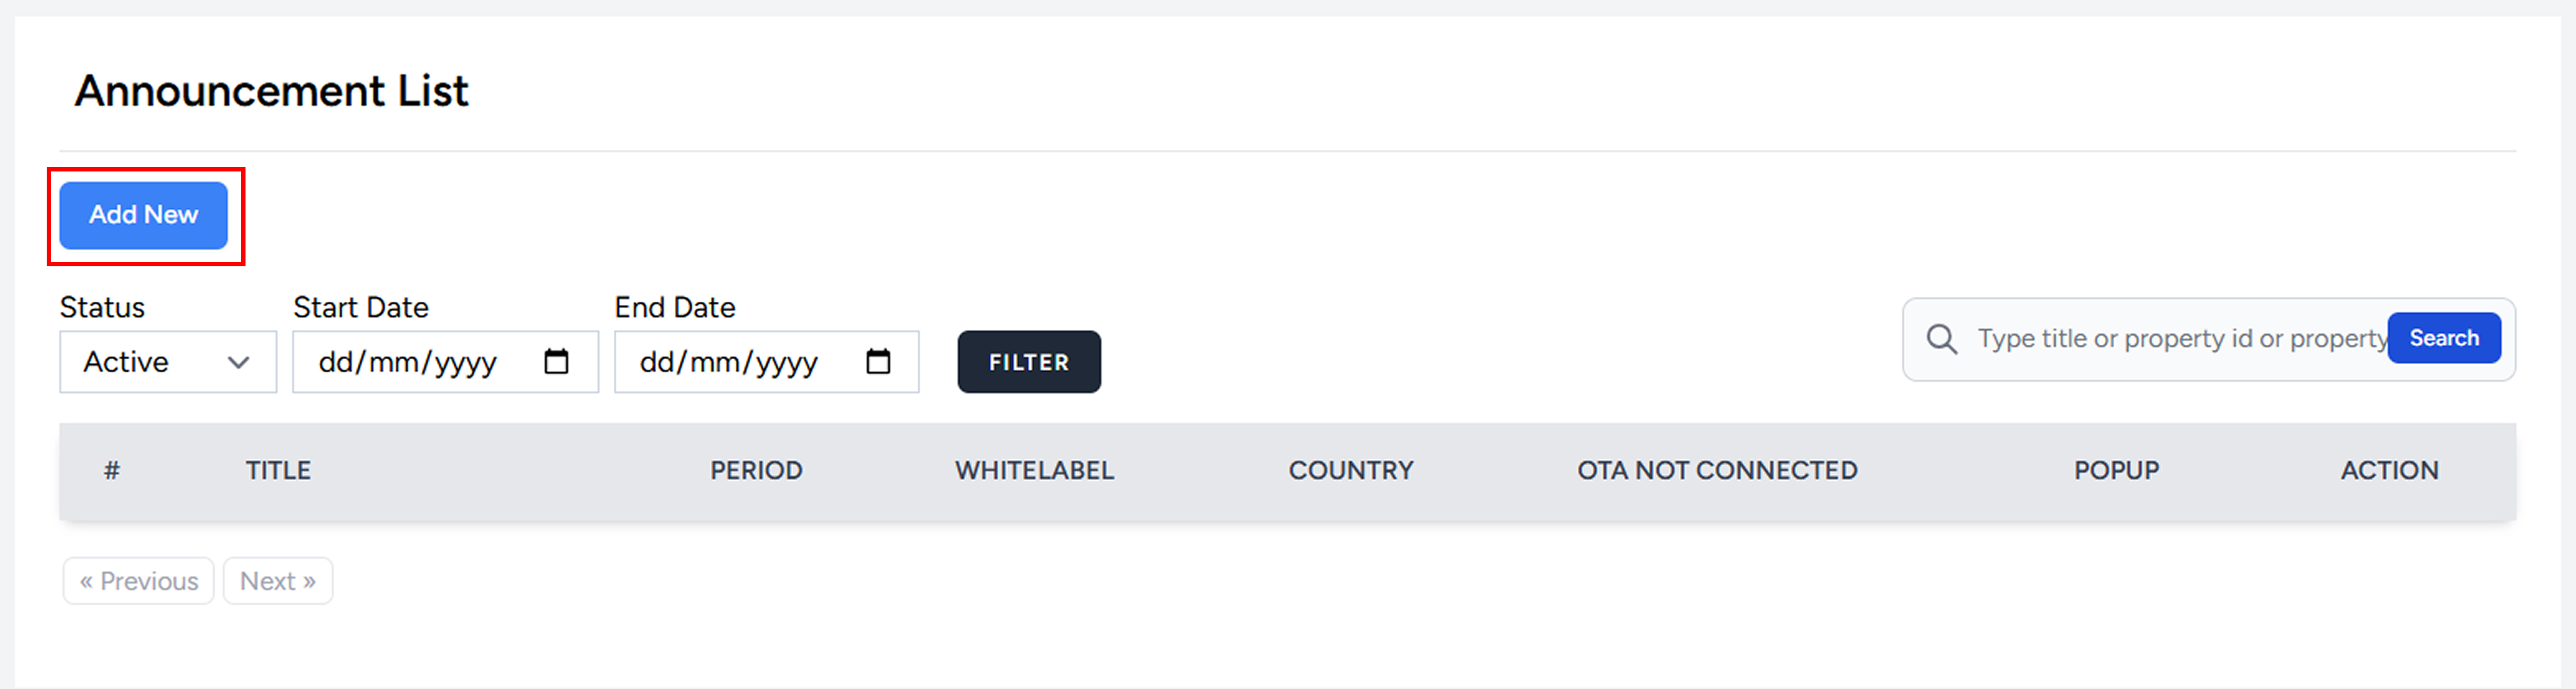
- Click Add New.
- Complete the announcement form:
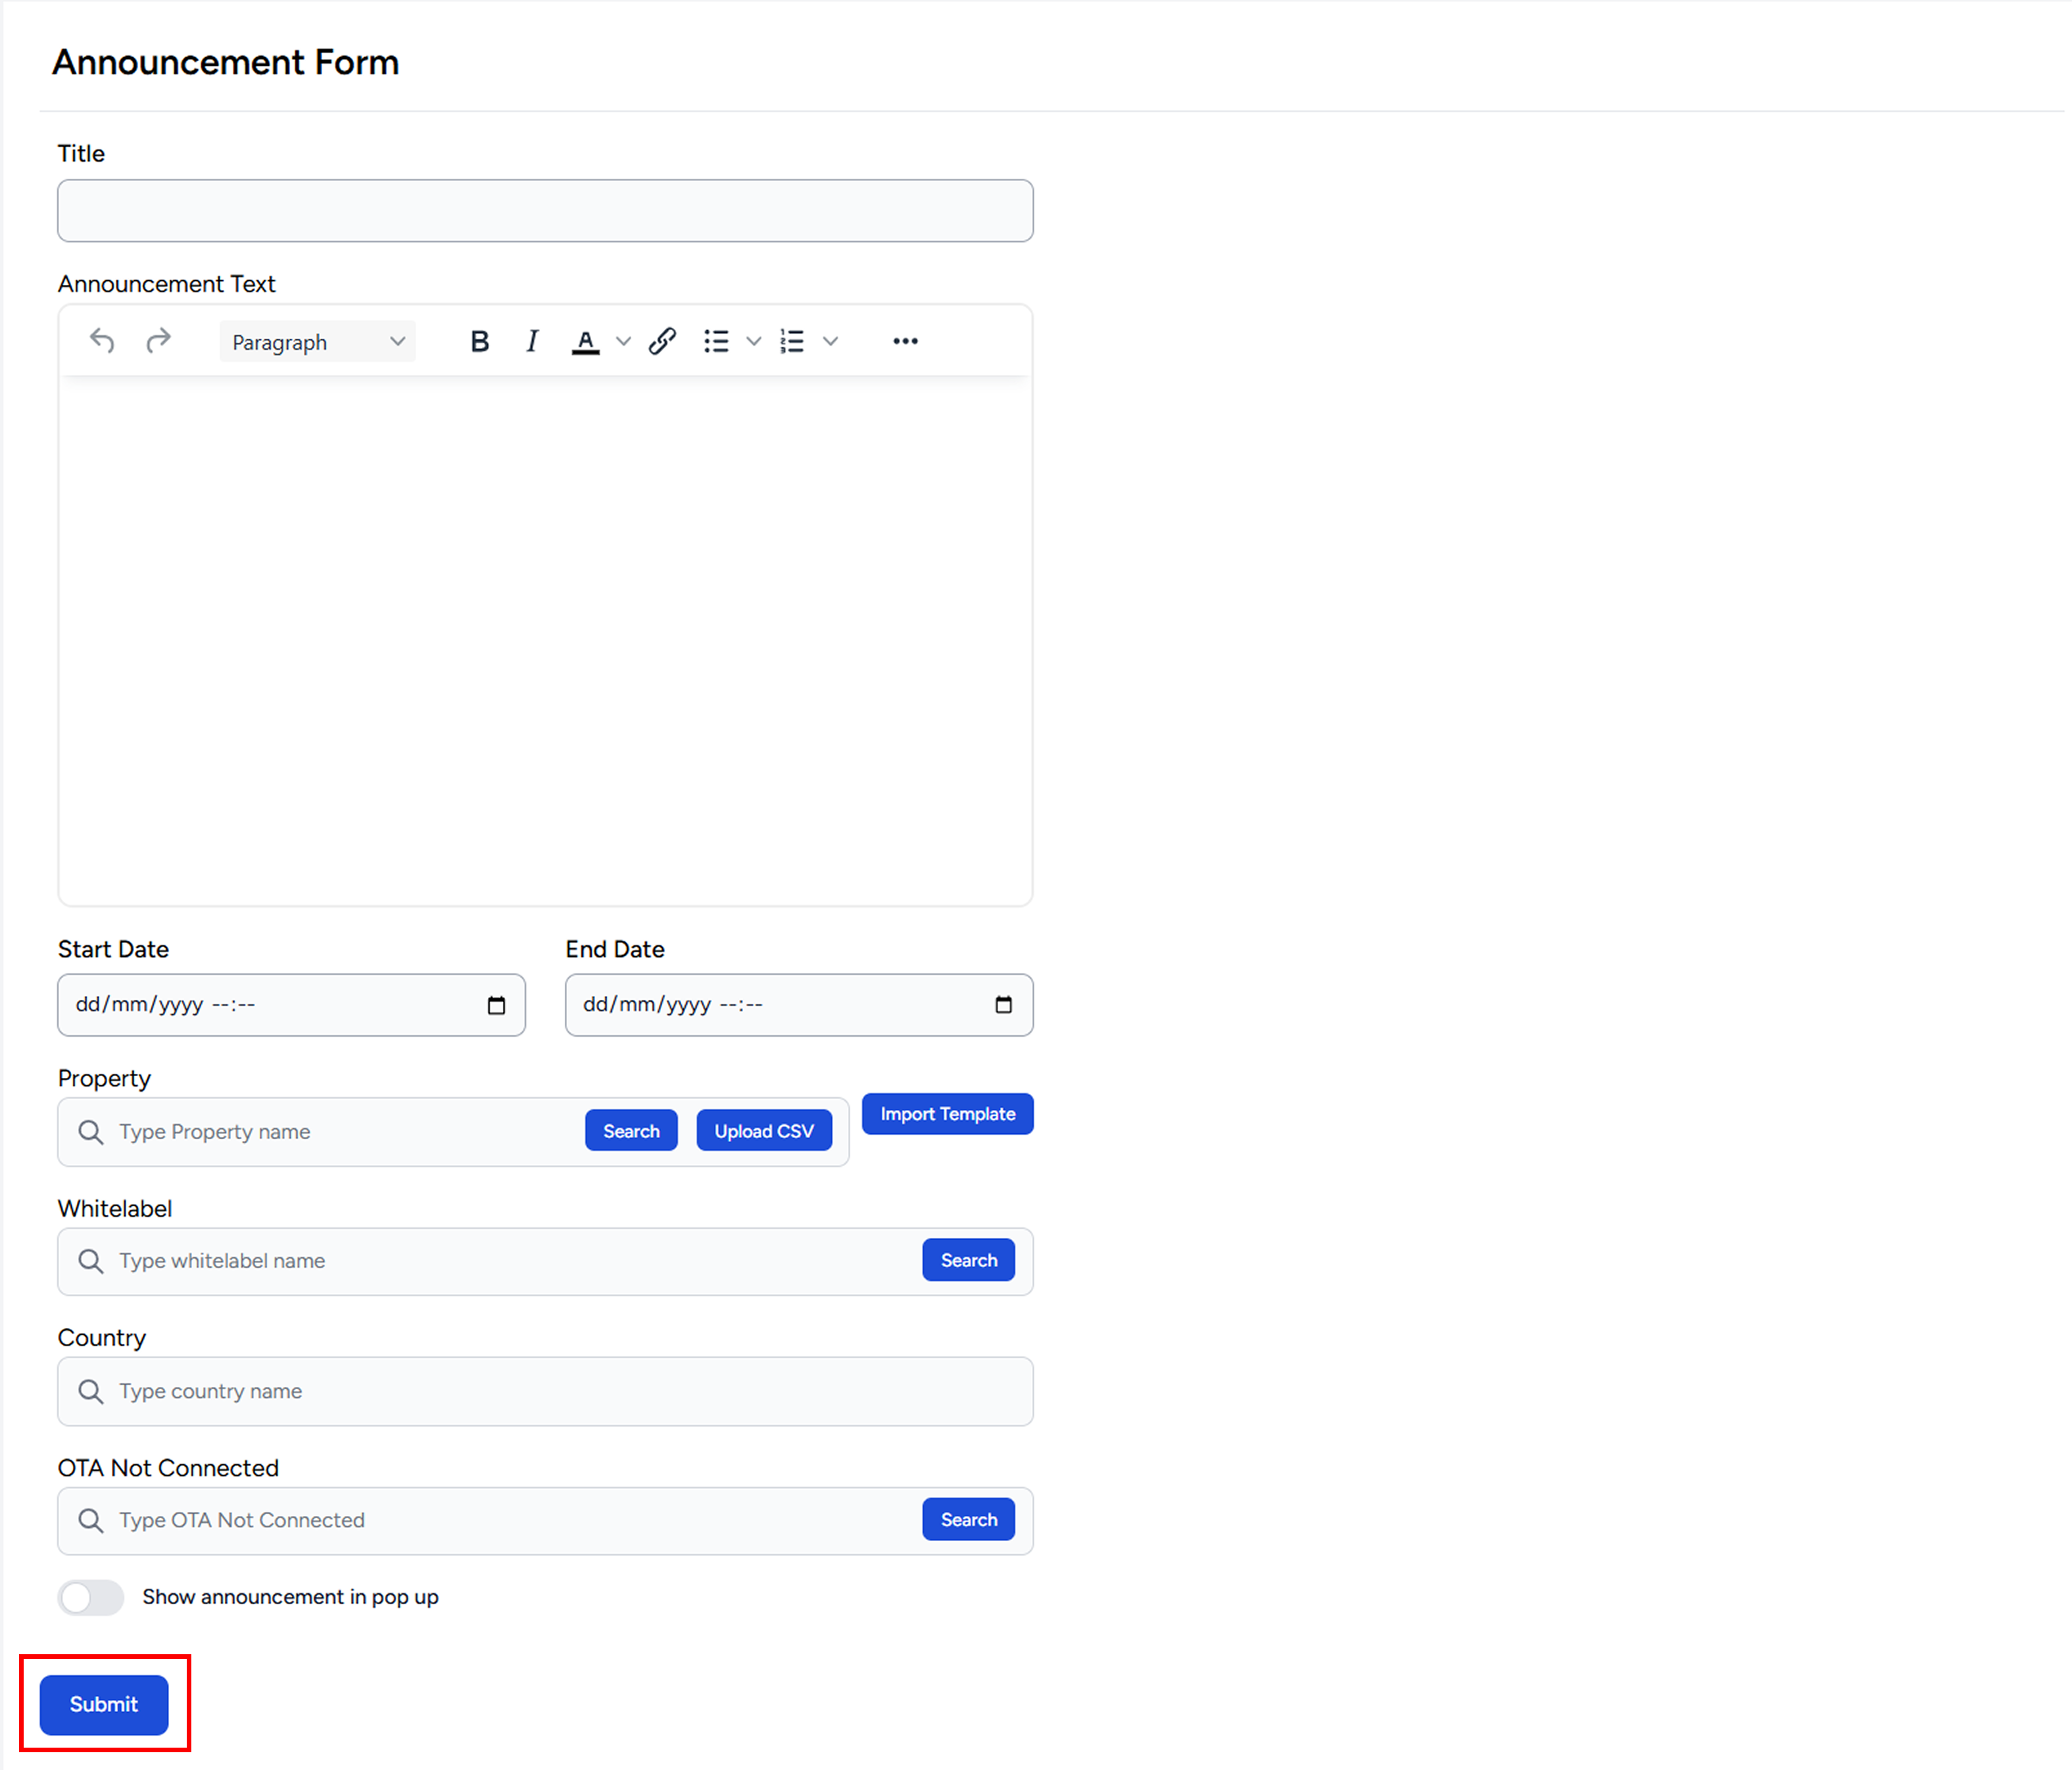
- Title : Enter the announcement title.
- Text : Enter the announcement content.
- Start Date & End Date : Define how long the announcement will remain visible.
- Property : Select specific properties to receive the announcement. Leave blank to send it to all properties.
- Whitelabel : Select the whitelabel(s) that should receive the announcement.
- Country : Limit the announcement to properties in selected countries.
- OTA Not Connected : Target properties that are not connected to specific OTAs.
- Show in Pop-up : Enable this option to display the announcement as a pop-up notification in Channel Manager.
- Click Submit to publish the announcement.
- The announcement will appear in the announcement list.
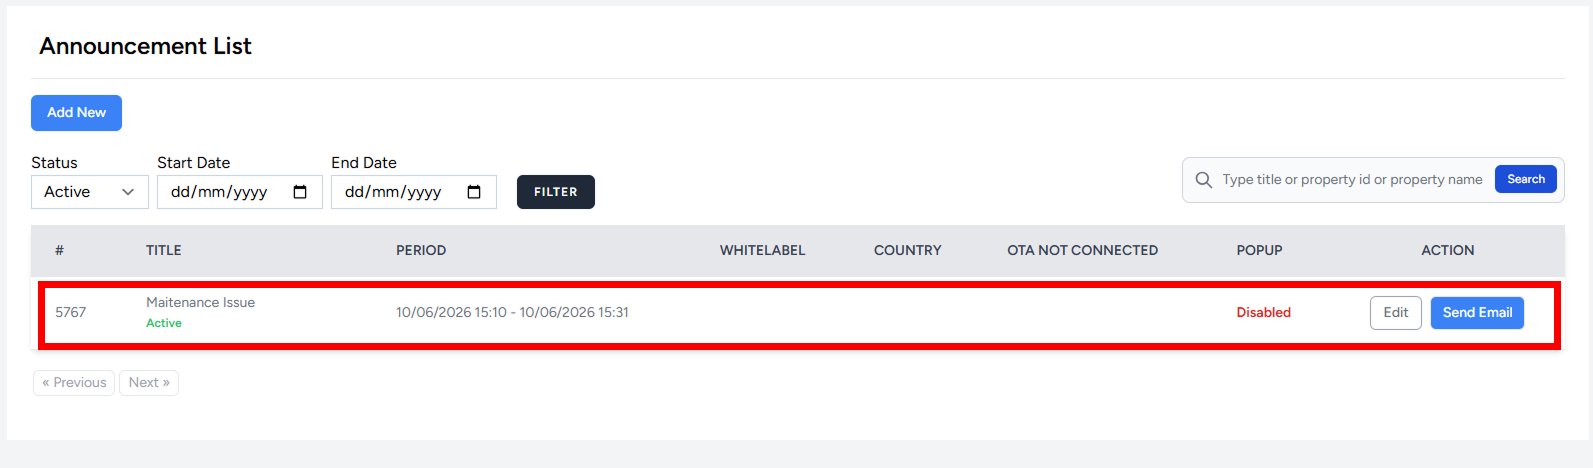
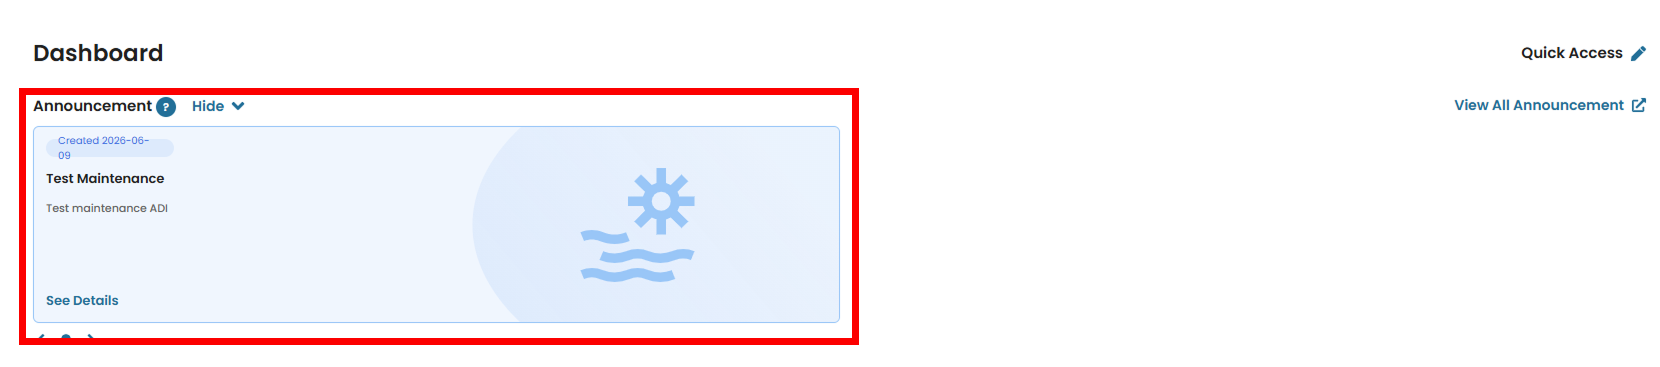
- Properties that match the selected criteria will see the announcement in their Channel Manager dashboard. The following example shows how the announcement is displayed in the Channel Manager V2 dashboard.
Troubleshooting Publishing Announcements
Announcement not visible to properties
- Verify that the current date falls within the configured Start Date and End Date.
- Check whether the property matches the selected targeting criteria, such as Property, Whitelabel, Country, or OTA Not Connected.
- Confirm that the announcement has been successfully submitted and appears in the announcement list.
Announcement pop-up not displayed
- Ensure that Show in Pop-up was enabled when creating the announcement.
- Verify that the property matches the announcement targeting criteria.
- Ask the user to refresh the Channel Manager dashboard and check again.
Announcement sent to the wrong properties
- Review the selected targeting criteria before publishing.
- Check whether any filters were left blank, as this may expand the announcement audience.
- Create a new announcement with the correct criteria if necessary.
How to Send an Announcement via Email
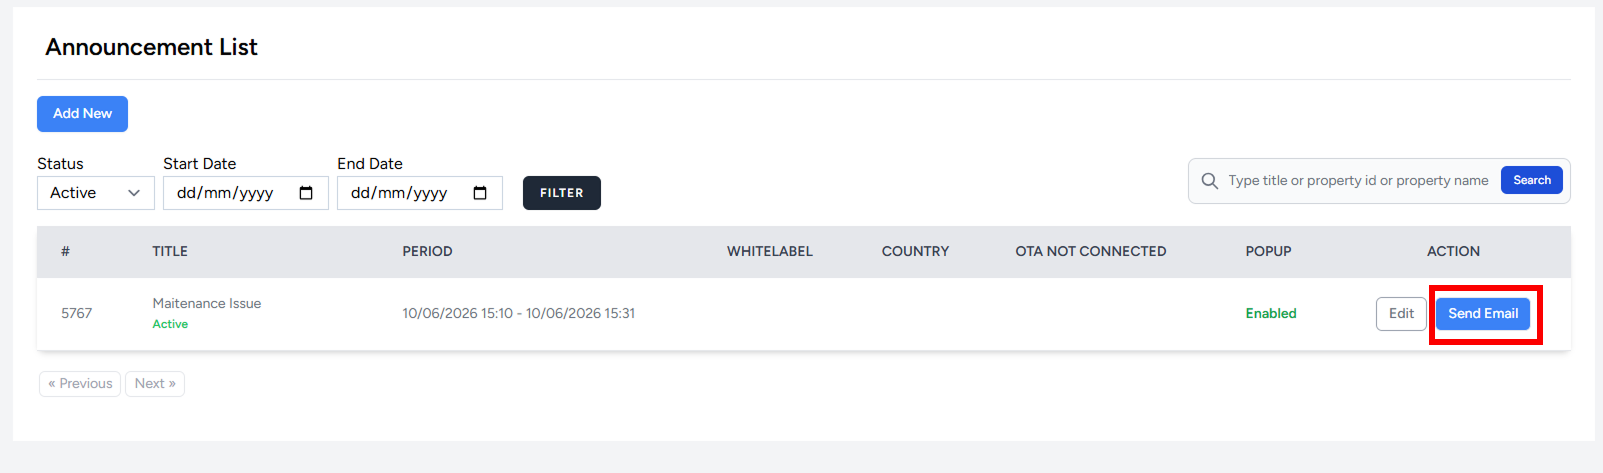
- From the announcement list, click Send Email.
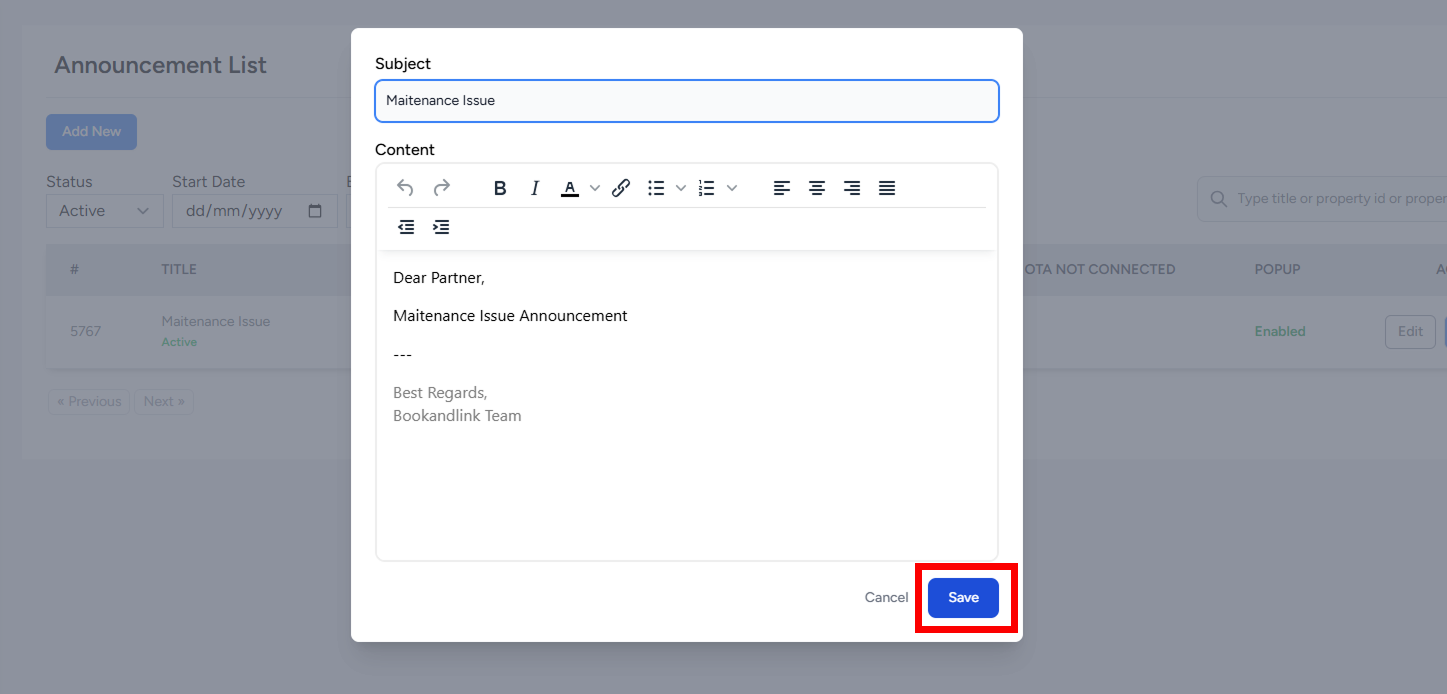
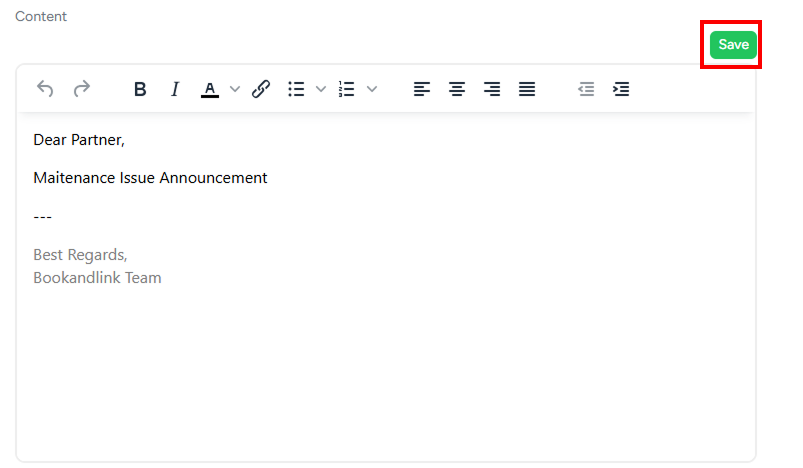
- Enter the email Subject and Content, then click Save.
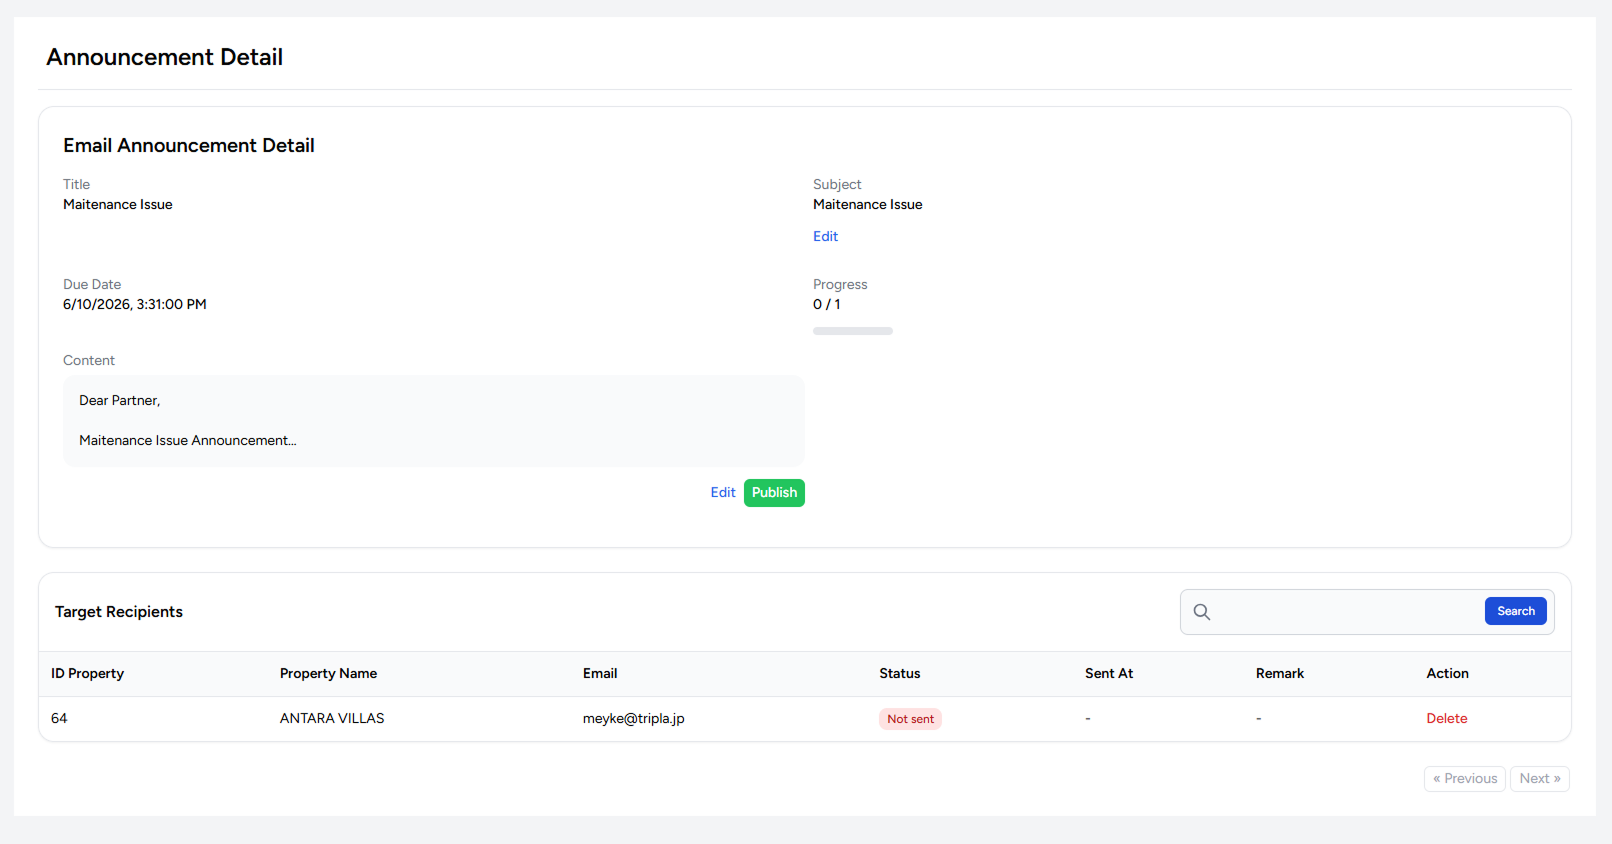
- Review the announcement details and make any necessary changes:
- Edit the email content.
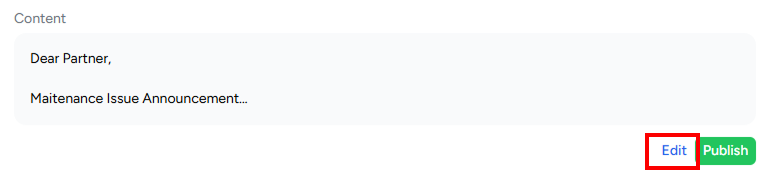 Save the changes by clicking the Save button
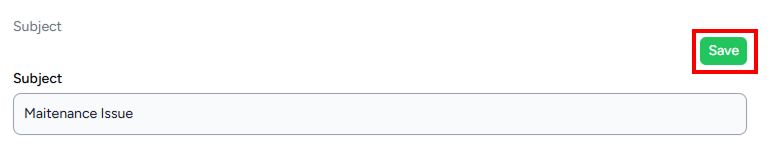
- Edit the email subject.
 Once you have finished updating the content, click Save to apply the changes.
- Review or modify the recipient list.
Recipients are generated automatically based on the selected targeting criteria. If needed, you can remove individual recipients by clicking the Delete button.

- Edit the email content.
- Click Publish to send the announcement email to the selected recipients.
Troubleshooting Email Announcements
Recipient list is incomplete
- Review the announcement targeting criteria.
- Recipients are generated automatically based on the selected filters.
- Confirm that the property has a valid email address configured in the system.
Email announcement not received
- Verify that the email announcement has been published.
- Check the recipient list before publishing.
- Ask recipients to check their spam or junk mail folder.
- Confirm that the email address is valid and active.
Changes to email content or subject are not saved
- Make sure you click Save after editing the content or subject.
- Refresh the page and verify whether the changes have been applied.
- Reopen the announcement details page and try saving again.